
Looking to combine your love for writing and code?
You're at the right place.
Sphinx is a mature tool used for technical documentation. Its what makes your documents look pretty and keeps your users from getting lost in the maze of thousands of lines and hundreds of pages of code.
Keeping it basic, the only assumption I am making here is that you have an internet connection. Follow these Quick-start instructions for installing, setting up and running Sphinx.
How to Install?
Skip forward to your O.S and follow the steps to install and set up Sphinx.
Basic Requirements:
- Python (3.6+)
- Pip tool
Windows:
The most efficient way to work with Sphinx would be to install and run the Windows Subsystem for Linux (WSL).
Refer to the official WSL guide for installation instructions.
After successful installation, run the WSL application and install Python. The Python3 version is preferred.
There are many ways of installing Python on WSL. I am outlining the easiest method here.
1
sudo apt-get update && sudo apt-get install python3 python3-pip make git
But for some reason, if you want to work on your Windows native version, you will have to run command prompt(cmd) or your Power shell in `administrative mode`. This is annoying and makes any errors you make harder to revert.
I am working with Power shell here but you can easily do this on cmd as well.
- Installing Python -
- Download the python package from the official website.
Alternatively, if the above method fails for some reason or if you are feeling a little adventurous, you can install python using `chocolatey`. Chocolatey is a package manager specially made for Windows which makes it easy to install packages, manage versioning, dependencies and your inventory list.
Open the windows menu with (Windows + X) and select Windows PowerShell(Admin).
Run:
1
 Set-ExecutionPolicy Bypass -Scope Process -Force; [System.Net.ServicePointManager]::SecurityProtocol = [System.Net.ServicePointManager]::SecurityProtocol -bor 3072; iex ((New-Object System.Net.WebClient).DownloadString ('https:/chocolatey.org/install.ps1'))
1
 choco install python
-
Installing Pip -
Pip is a part of the Python Package Index which houses Sphinx. Python(3+) versions have pip included as a tool. To check the existence and version of pip, Run:1 2 3
python -m pip install -U pip pip --version
- Install Git for Windows: Follow the instructions here.
- Install Make for Windows: Follow the instructions here and add the following path
http://gnuwin32.sourceforge.net/packages/make.htmto PATH environment variables. Installing Sphinx:
1
pip install -U sphinx
To check whether Sphinx has been installed successfully,
Run:
1
sphinx-build --version
- Install the Git tool. Find instructions here.
- Install GNU Make. Find instructions here.
- Makefile: The source and build directories are defined here, originally set to point to the Source and Build folders in the Sphinx file. If you need to change the path to point to another folder, you can make the changes here. The Makefile also allows you to build your document with the help of various supporter builder (html, latex etc.)
- Make Windows Batch file: Unless you know what you are doing, leave this alone.
- Source folder:
- static file: Holds the static files Sphinx uses to host your pages.
- templates file: Holds the various templates you can implement for your pages.
- config.py file : Holds configuration settings; including an option to change the theme.
- index.rst: A list of contents listed under the .. toctree::, which you will need to amend every time you add a new file to your Sphinx source folder.
- Build folder (empty)
Linux
Linux operating systems usually have Python and Sphinx pre-installed. To check and install Sphinx (if needed),
Follow the steps for your Linux O.S:
Ubuntu
Run:
1
apt-get install python3-sphinx
Fedora
Run:
1
sudo dnf install python3-sphinx
Archlinux
You can find the official package for Sphinx here.
Download and install or run the following command.
Run:
1
pacman -S python-sphinx 3.1.1-1
Anaconda
Run:
1
conda install sphinx
Congratulations! You have successfully installed Sphinx.
Now, navigate to the directory folder where you wish to run Sphinx and run the WSL application by pressing Shift and right click together. Otherwise, run cmd(Admin Mode not needed)/Git Tool(Bash).
Run:
1
sphinx-quickstart
P.S - Hover on the images to zoom in.
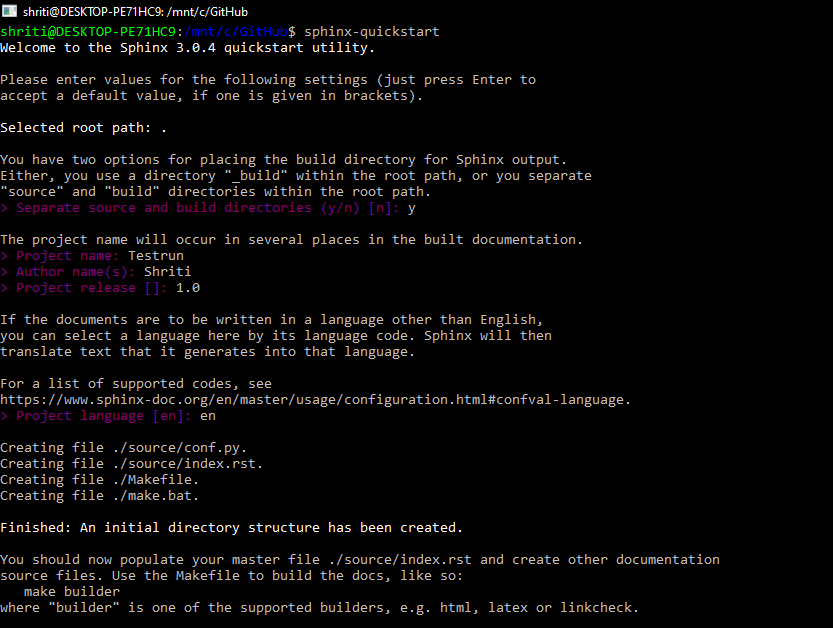
This will give you these newly furbished files:
Now that we have the guns and the ammunition, lets fire off a new documentation site!
I am using html build here. You can alternatively use latex, linkcheck etc.
make html builds your file written in Markdown, HTML and ReStructured text into a static site, allowing you to view it locally before committing to the changes.
Run:
1
make html

Go to your build folder. You will find two folders, doctree and html, waiting for you. Open the html folder.
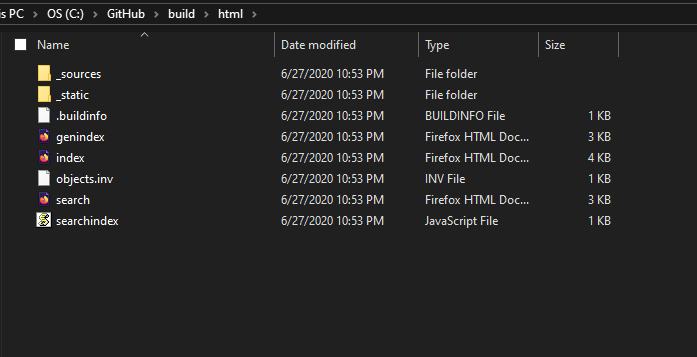
Open the index.html file in the browser of your choice.
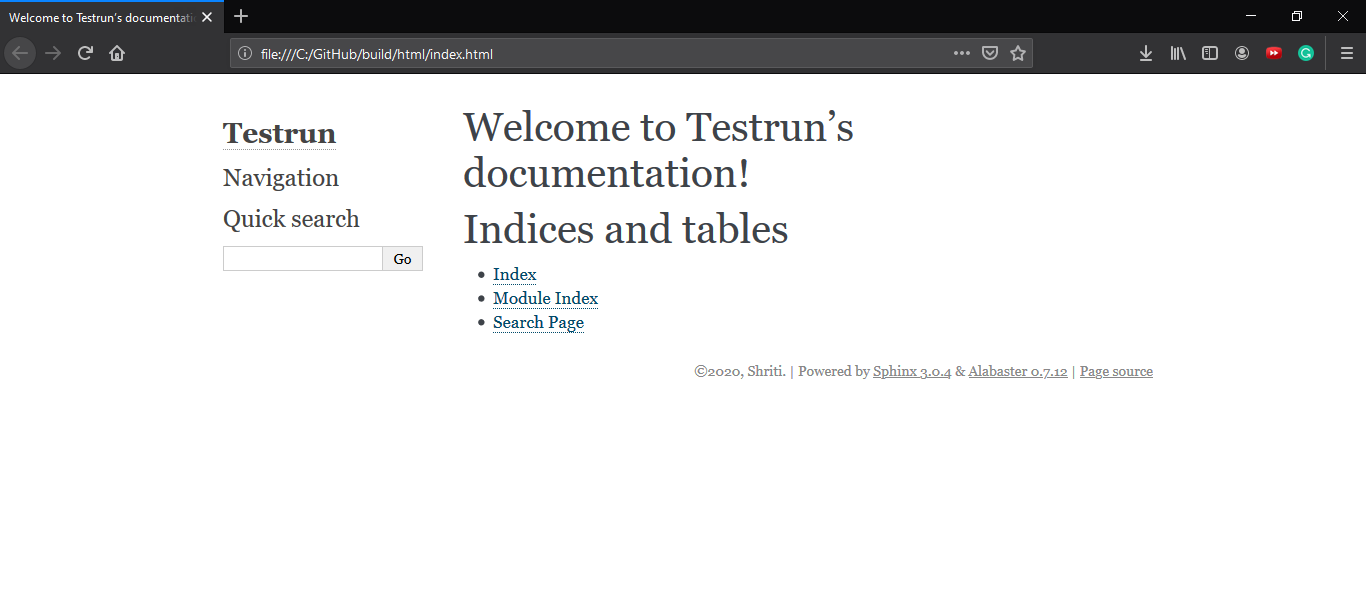
You can now populate your source folder with more files. You can use any editor, even notepad, to play around with your .rst files. Make sure to run make html every time you want to build and see any changes locally (on your system).
Tips
Sphinx doesn't inherently use any customization language. This is because it is mainly used for structuring and mature documentation. This does not mean that you cannot style your document by adding colors, highlights etc.
Adding CSS or Java script(JS) files to Sphinx is very much possible.
In case you need to do some styling at a minor level, you can accomplish this even without going through the bother of setting up a separate CSS/JS file by simply adding roles to your markdown file.
Roles act like span html tags.
In this short tutorial, I have used roles to add colors to the text. This might also give you an insight to the entire building process.
Psst. If you get the following error Blocked by X-Frame-Options-Policy when you try to play the video on Firefox. Just install this addon. Takes 5 seconds, I promise.
As an alternative, you can simply create/link a CSS or JS file to your .rst file and go crazy on the styling.
If you are not familiar with Markdown or ReStructured language, consider the following references as your bible: and you're done! Carry on and keep writing pristine documentation.
~ <3 - Download the python package from the official website.